Gate Chains

The chains that hold up the tailgate were pretty well rusted… entirely functional but cosmetically poor.

rusted chains

close up of rust

My first, simple effort was to soak them in vinegar and salt. I let them sit for a good 24 hours, then used some steel wool, and also a rotary wire brush (i.e. use as a drill bit on a cordless drill). That helped, but didn’t work miracles, so I did a second round of the same.

All of that effort resulted in better, but not great.

somewhat cleaner chain

I had some excess cable lying around, so I tried that. I’m happy enough with it. The only problems are:

  • It doesn’t droop as well as the chain, so things twist up slightly. That’s not a big deal but it can work itself off the hook easily when opening.
  • Using the original bracket (on the non-hook side-gate end) will probably eat away the plastic coating on the cable and then lead to rust on the cable.

new cable, closed

new cable, open

So I think this will work well for a while. I’ll call it a B+ solution. If I come back to it, I’ll look for an alternate bracket type on the side wall, maybe even something that could double as a tie-down point.

Spare Tire Mount

In my new wheels & tires project, I had opted for 5 new wheels/tires with the thought that I wanted a full size spare. I knew the larger tires would likely not fit in the standard under-bed spare location; and indeed it didn’t fit. My thought was to mount the spare either on a roof rack or on the back of the cab… and I am first trying out the latter.

Overall, I’m calling this a C+ project - not quite all I had hoped, and I may ultimately stuff one of the old original wheels/tires in the spare slot.

I ordered a simple mount that is meant for the side of a trailer to mount that to the rear headache rack. Here’s what it looks like completed from afar. I’m happy with the general position - it doesn’t encroach on the window visibility too much and leaves some room for longer items to use the full bed depth.

back of truck with tire mounted on cab

The initial mounting was pretty simple. Even though the bracket hardware is pretty thin, it still took a little doing to finesse it between the rack and cab. I had also inserted some rubber strips to lessen metal-on-metal contact.

initial partial install up close

My first frustration, perhaps not too surprising given the simplicity of the mount, is that it has these two bolts bearing the entire weight of the tire, so it all sags down a bit. I’m not sure what kind of stress that puts on the bolt, and it if may bend/break over time. You can see the angle decently well in this photo. Also, it is a lot of effort with a wrench to put the locking bolts all the way down the rather long bolt, so I’m not sure how practical it is - it would take easily 5-10 minutes to get those off if you had an actual tire change scenario; and I’m concerned that if the bolts bend some, it could make that more difficult.

mounted tire up close

Below is the view from inside the cab. It does slightly hinder your “backing up” view, but not drastically, and does show up a bit in the rearview mirror.

rear window visibility

Temporary Gate Latch Silencer

Since I got the truck, it has had a pretty significant rattle on the right side. I quickly figured out that the front-right bed gate latch didn’t sit super snug and was the culprit. More specifically, when the right bed side would move, the two components of the latch would hit each other.

The bed side does have a bumper on it which seems in fine shape. None of the latches have silencers, which are the small plastic parts that fit over the metal and tend to break off with age.

I plan to order proper silencer replacements all around, but wanted an interim solution. Enter duct tape!

scissors, duct tape, and rubber wire insulator

To avoid gunk long term, I didn’t want to tape directly on the metal. Nearby I had some heat-shrink wire insulator - basically just some thin rubber. I cut that down a little, wrapping it on the inside and duct tape strips on the outside.

The result seems to work just fine for now, and definitely got rid of the very loud rattle.

finished product

Stereo Upgrade

The stereo replacement was the first project I really started, but took a while to complete. The issue I ran into was finding speakers that would gracefully fit inside the factory speaker grill in the dash.

Head Unit

I opted for a fairly simple and cheap unit, the JVC KD-X280BT ($97.98), which has basic radio plus modern bluetooth capabilities. It is a single-DIN “digital media receiver” - meaning that it is a normal thin height and is also not too deep, as it doesn’t need to accomodate CDs/DVDs. It is essentially identical in dimension to the factory unit.

head unit in dash

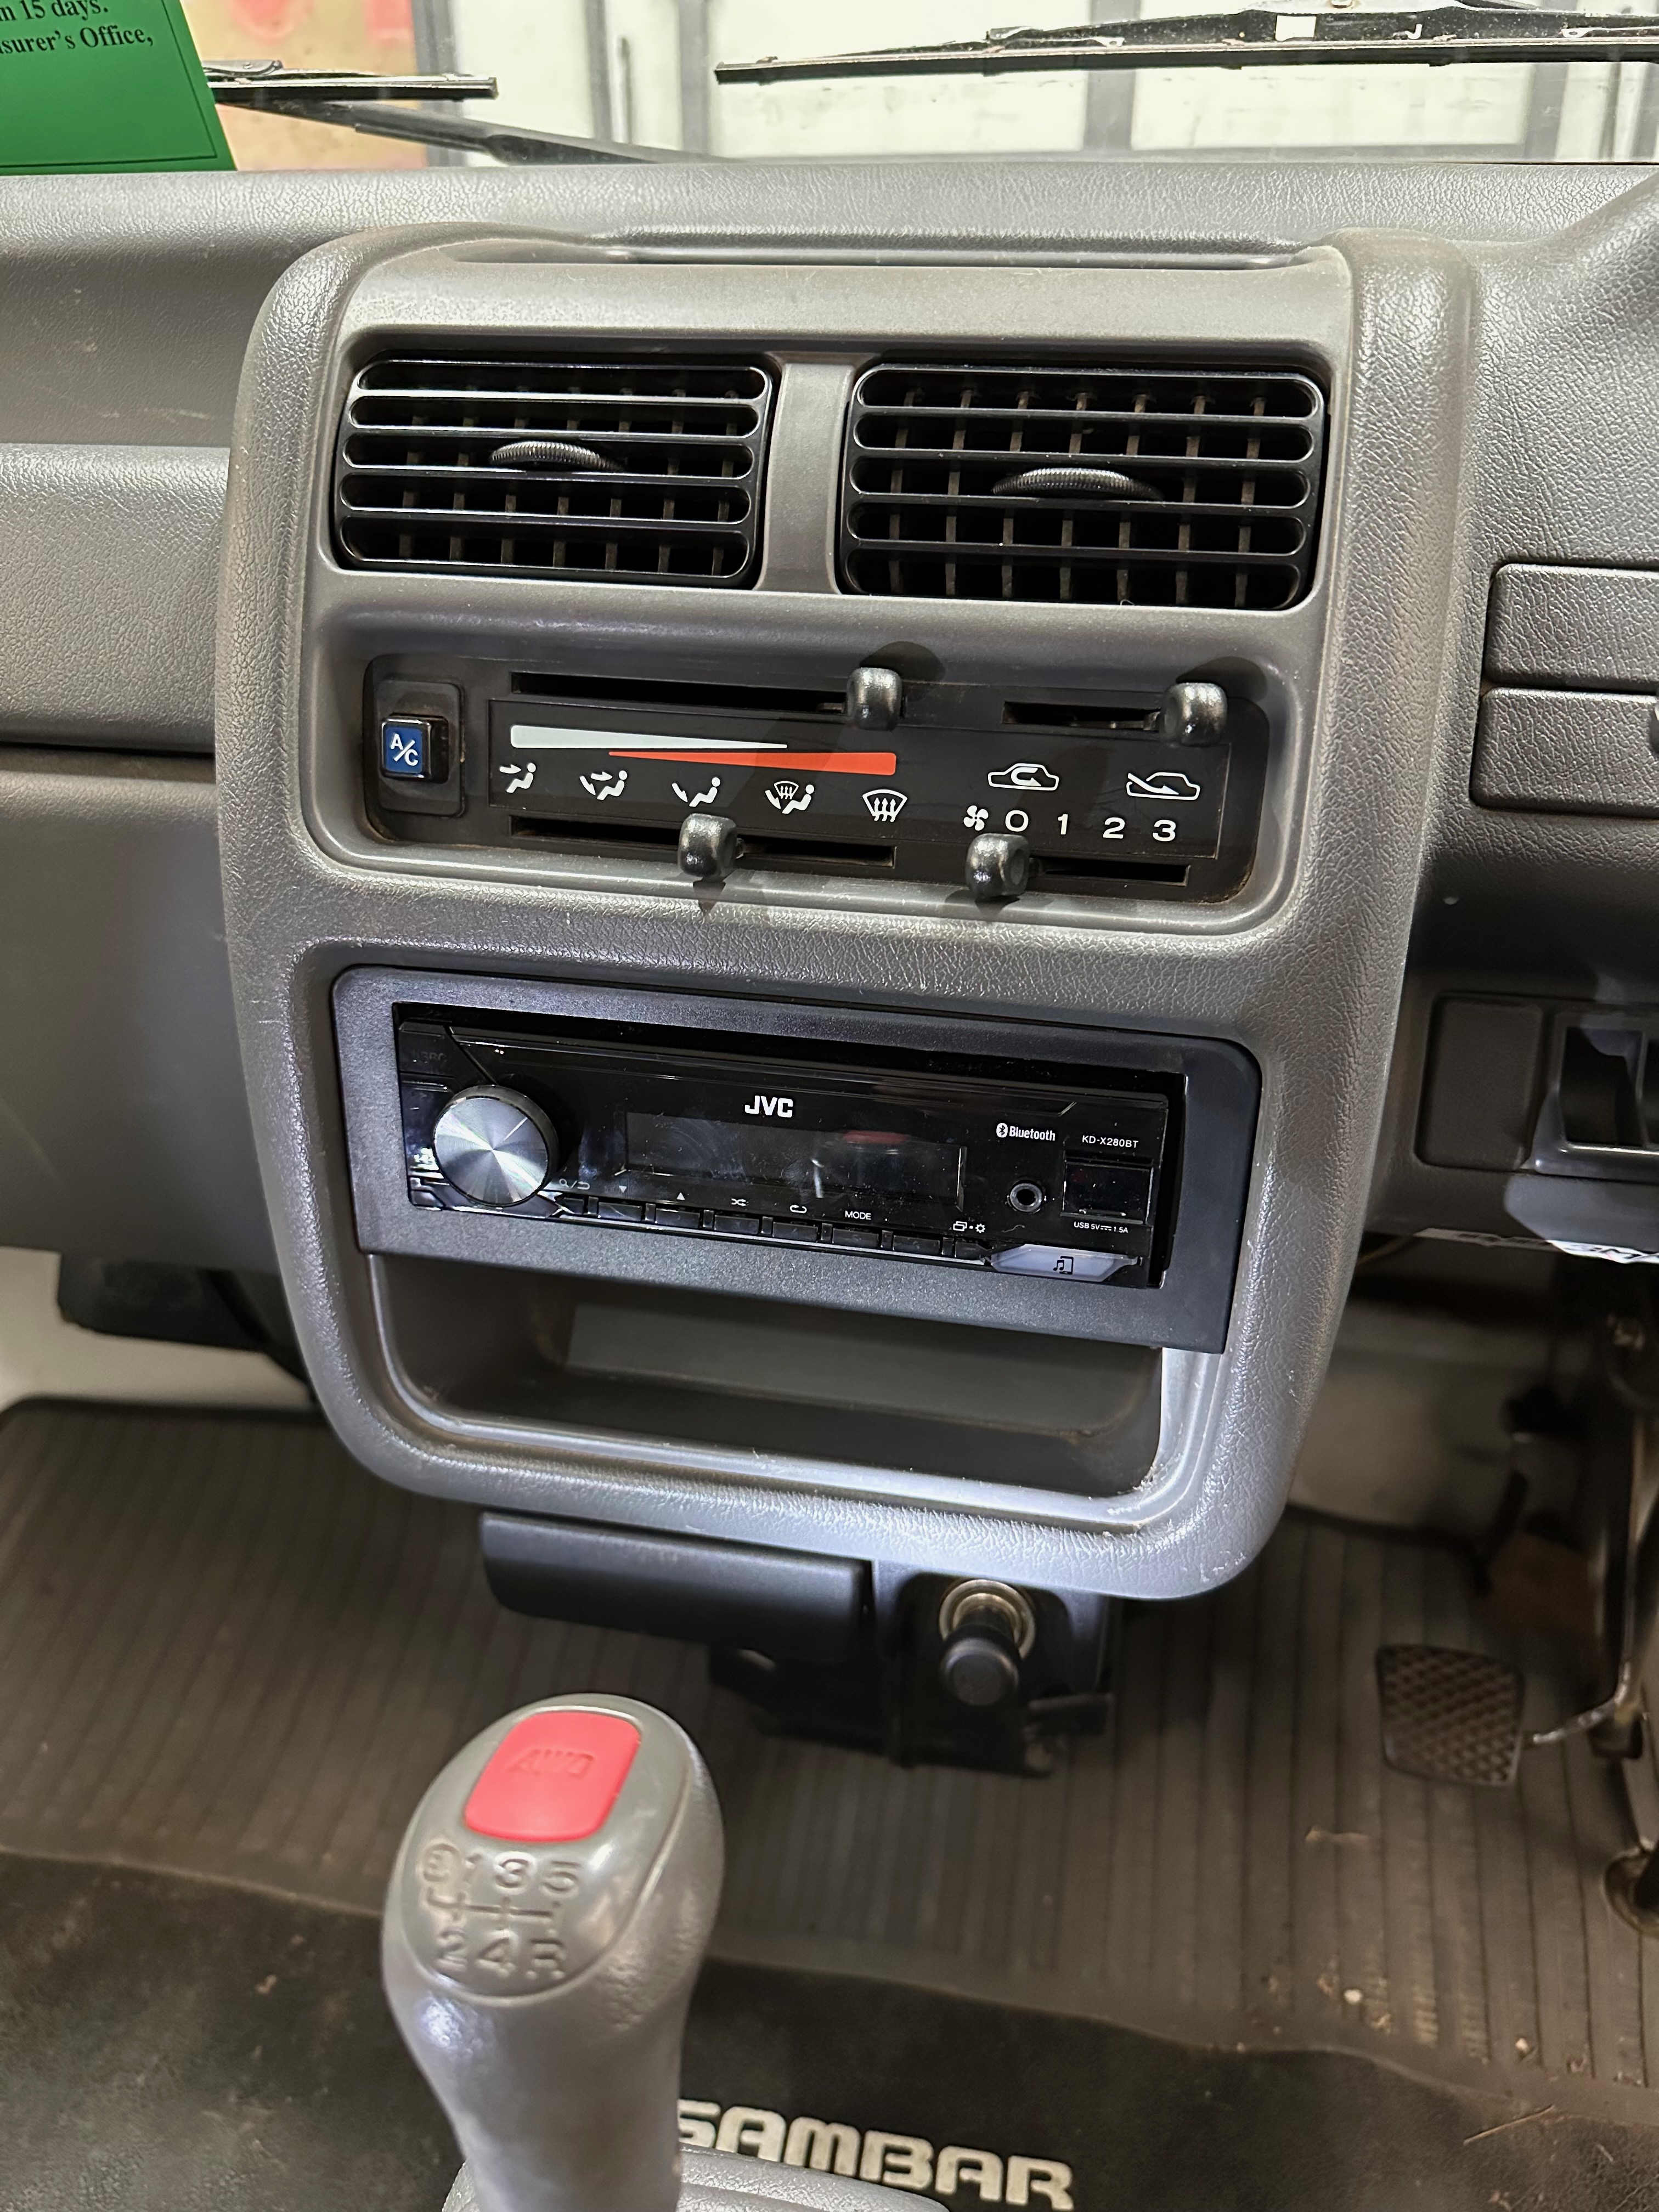
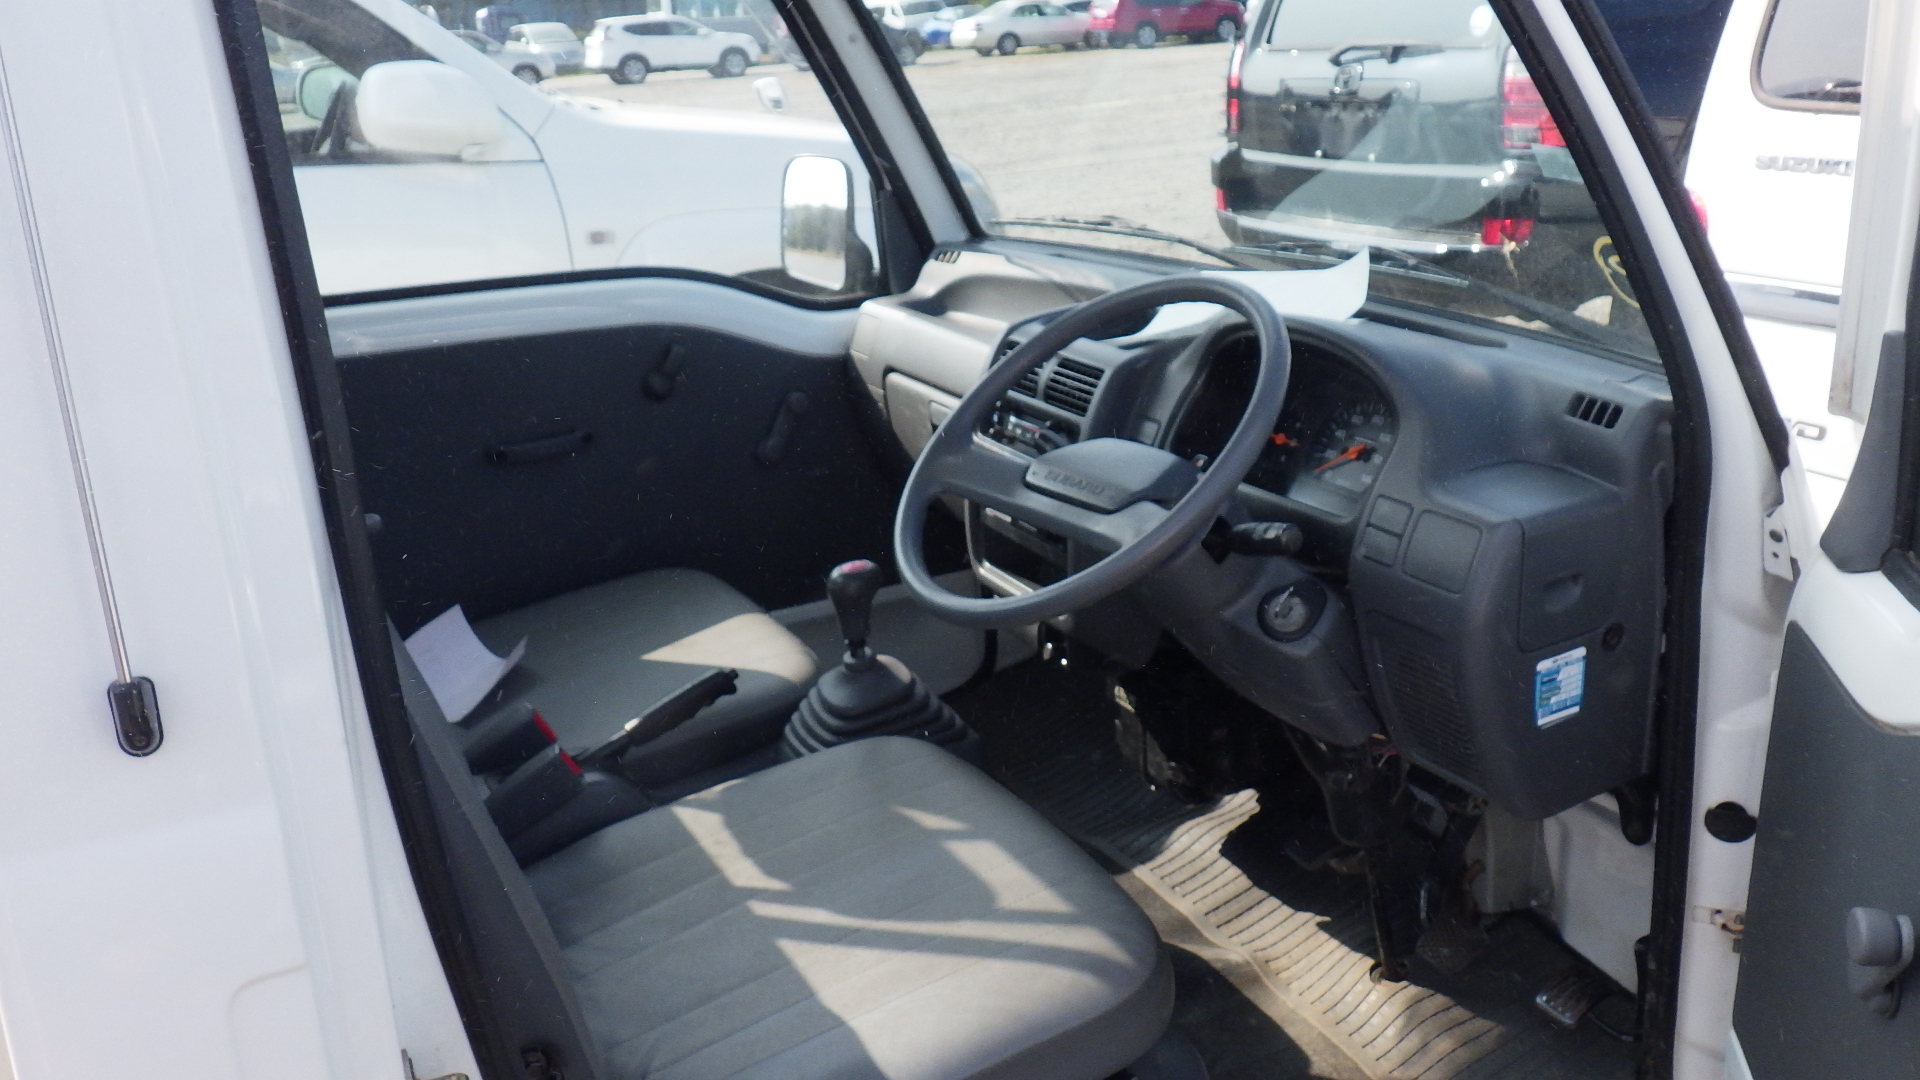
It was pretty simple to get the factory cover off, then find the 4 screws to unmount the bracket. Two of the screws are pretty deep and required a longer screwdriver, so a little harder to work with. The new stereo came with an optional quick-release bracket (to remove the radio without screws), but that didn’t seem to fit gracefully, so I just installed it in the traditional manner.

I did watch the how-to video from Oh Kei Garage, which was helpful to understand what to expect.

I know Oh Kei Garage has a wiring harness, which would have been nice, but I just matched up wires and used a heat gun and heat shrink self-solder connectors, using the KS4 manual to help me sort out which wires to connect to which.

If I did it all over, I’d consider going with a RetroSound option to better match the original aesthetic, though it would cost a bit more.

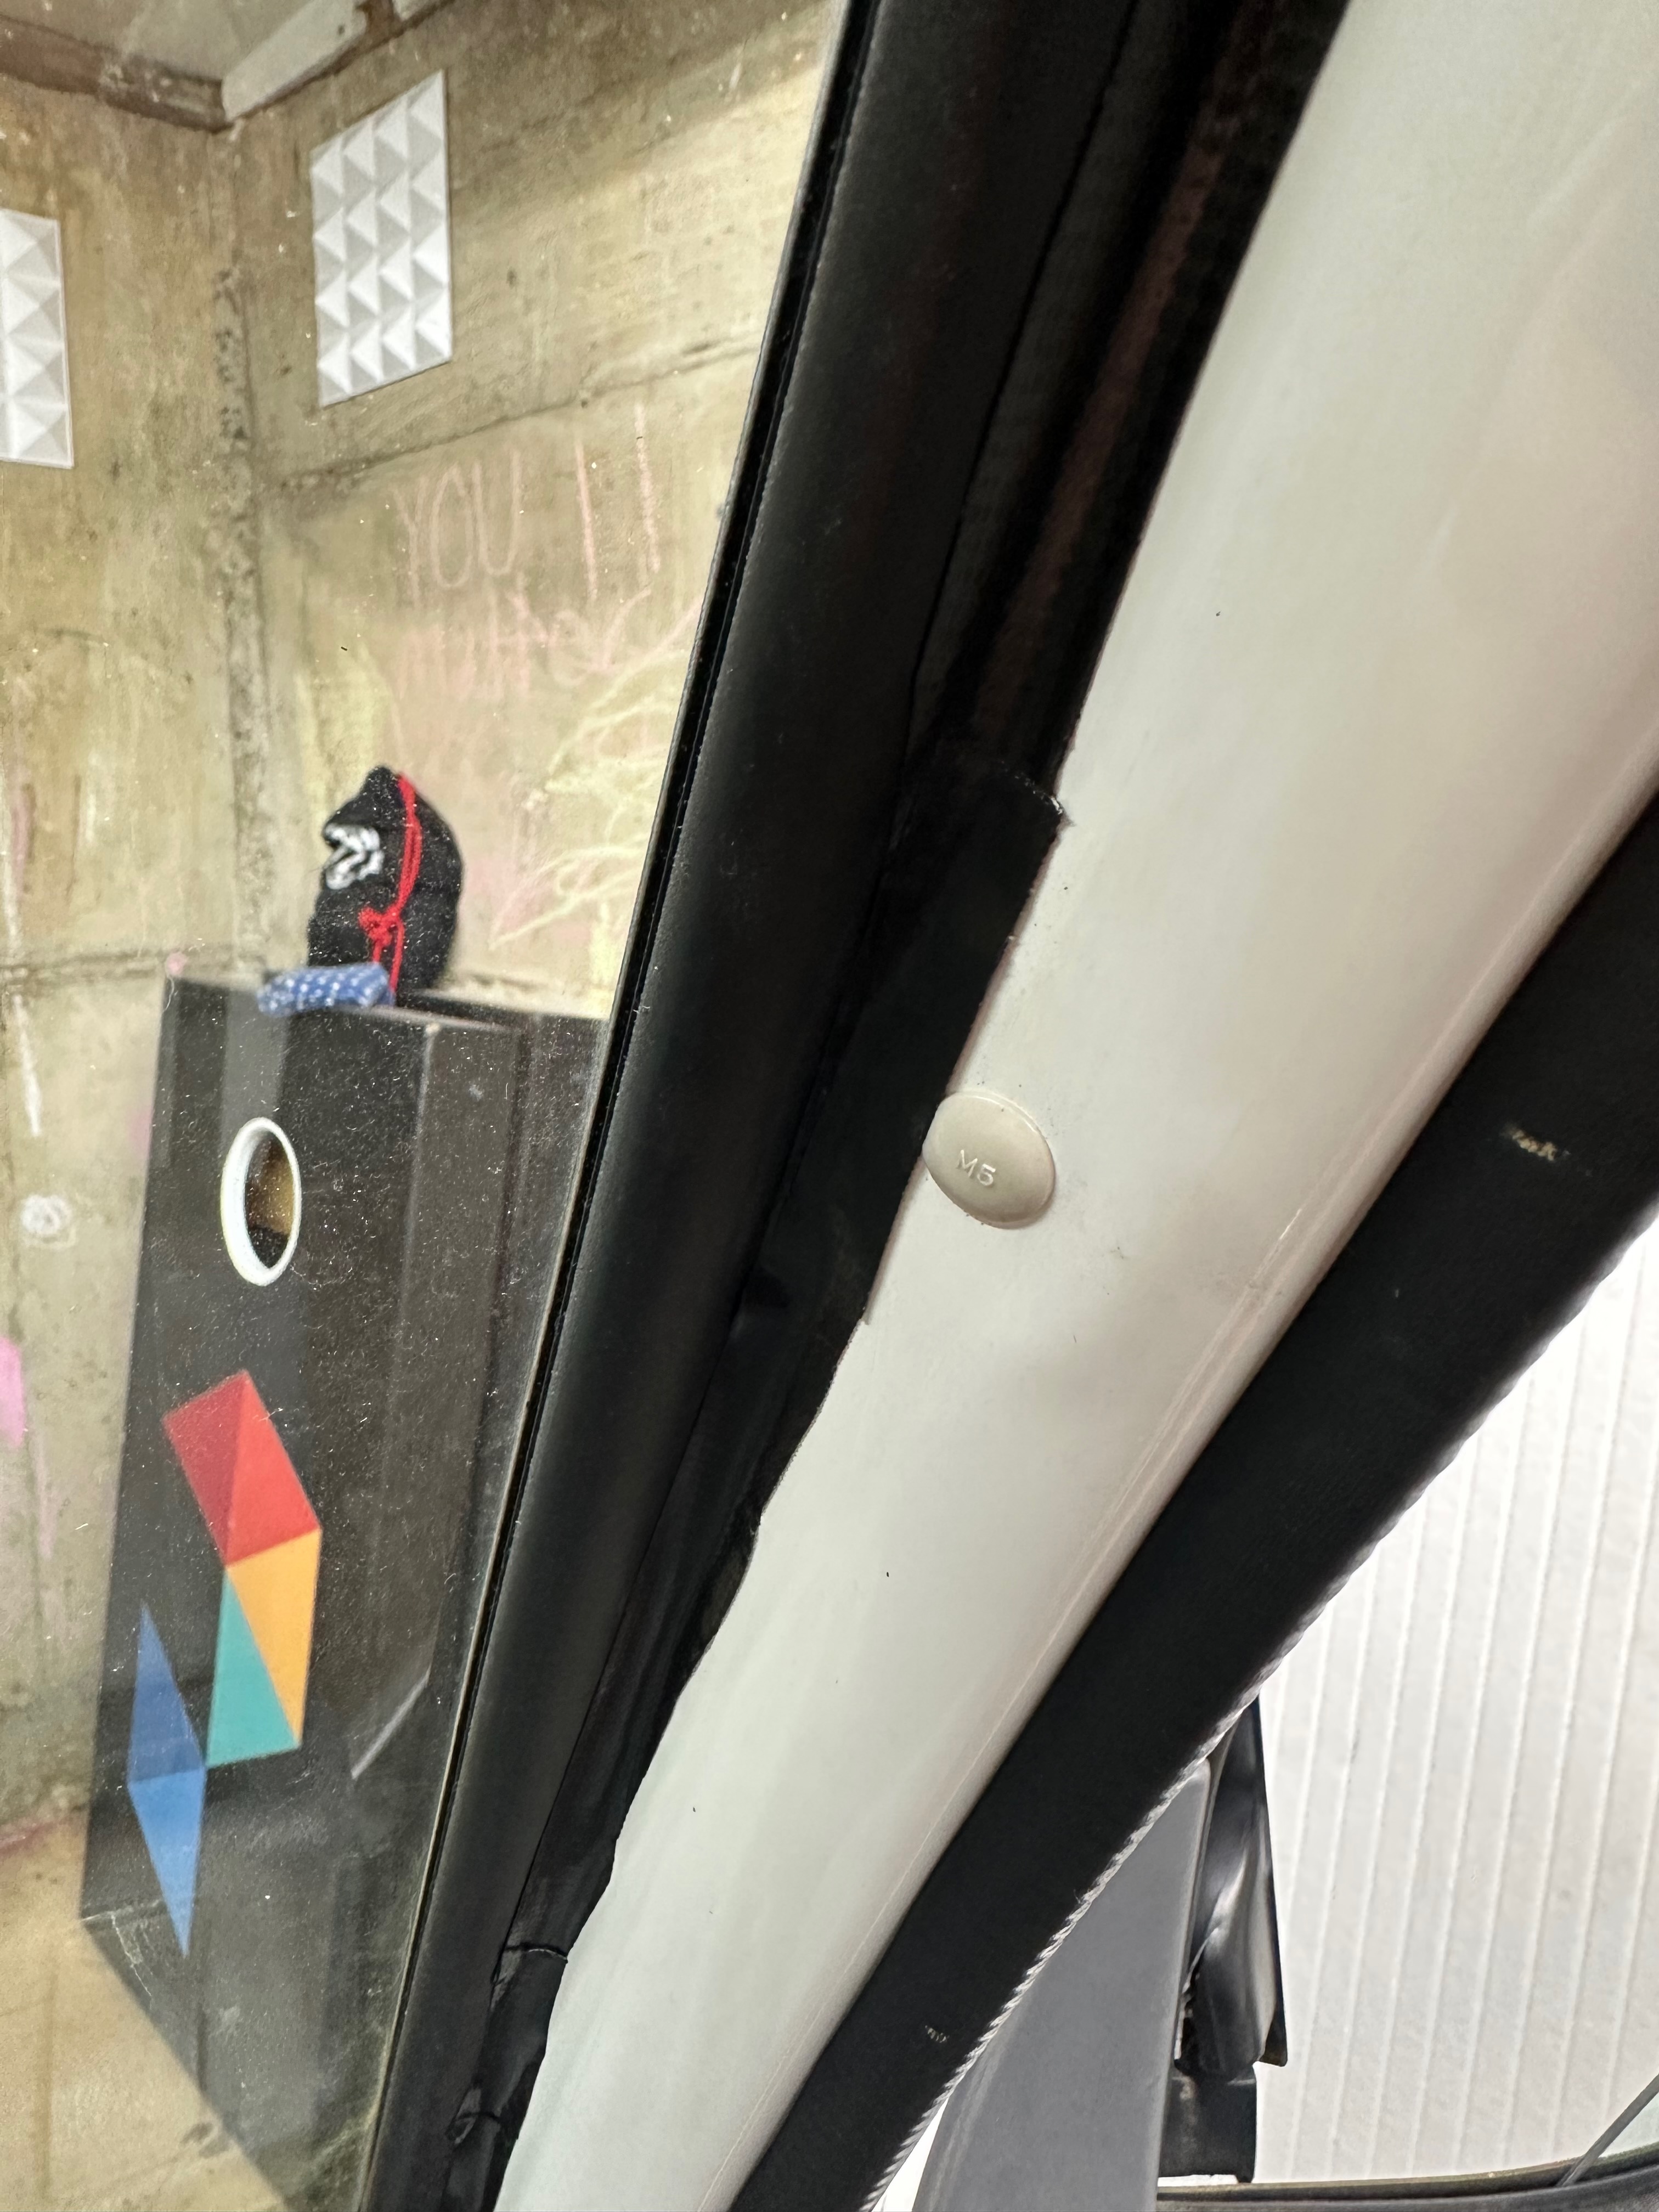
The head unit also came with a mic for bluetooth phone calls. I routed that under the dash and up to the sun visor.

microphone

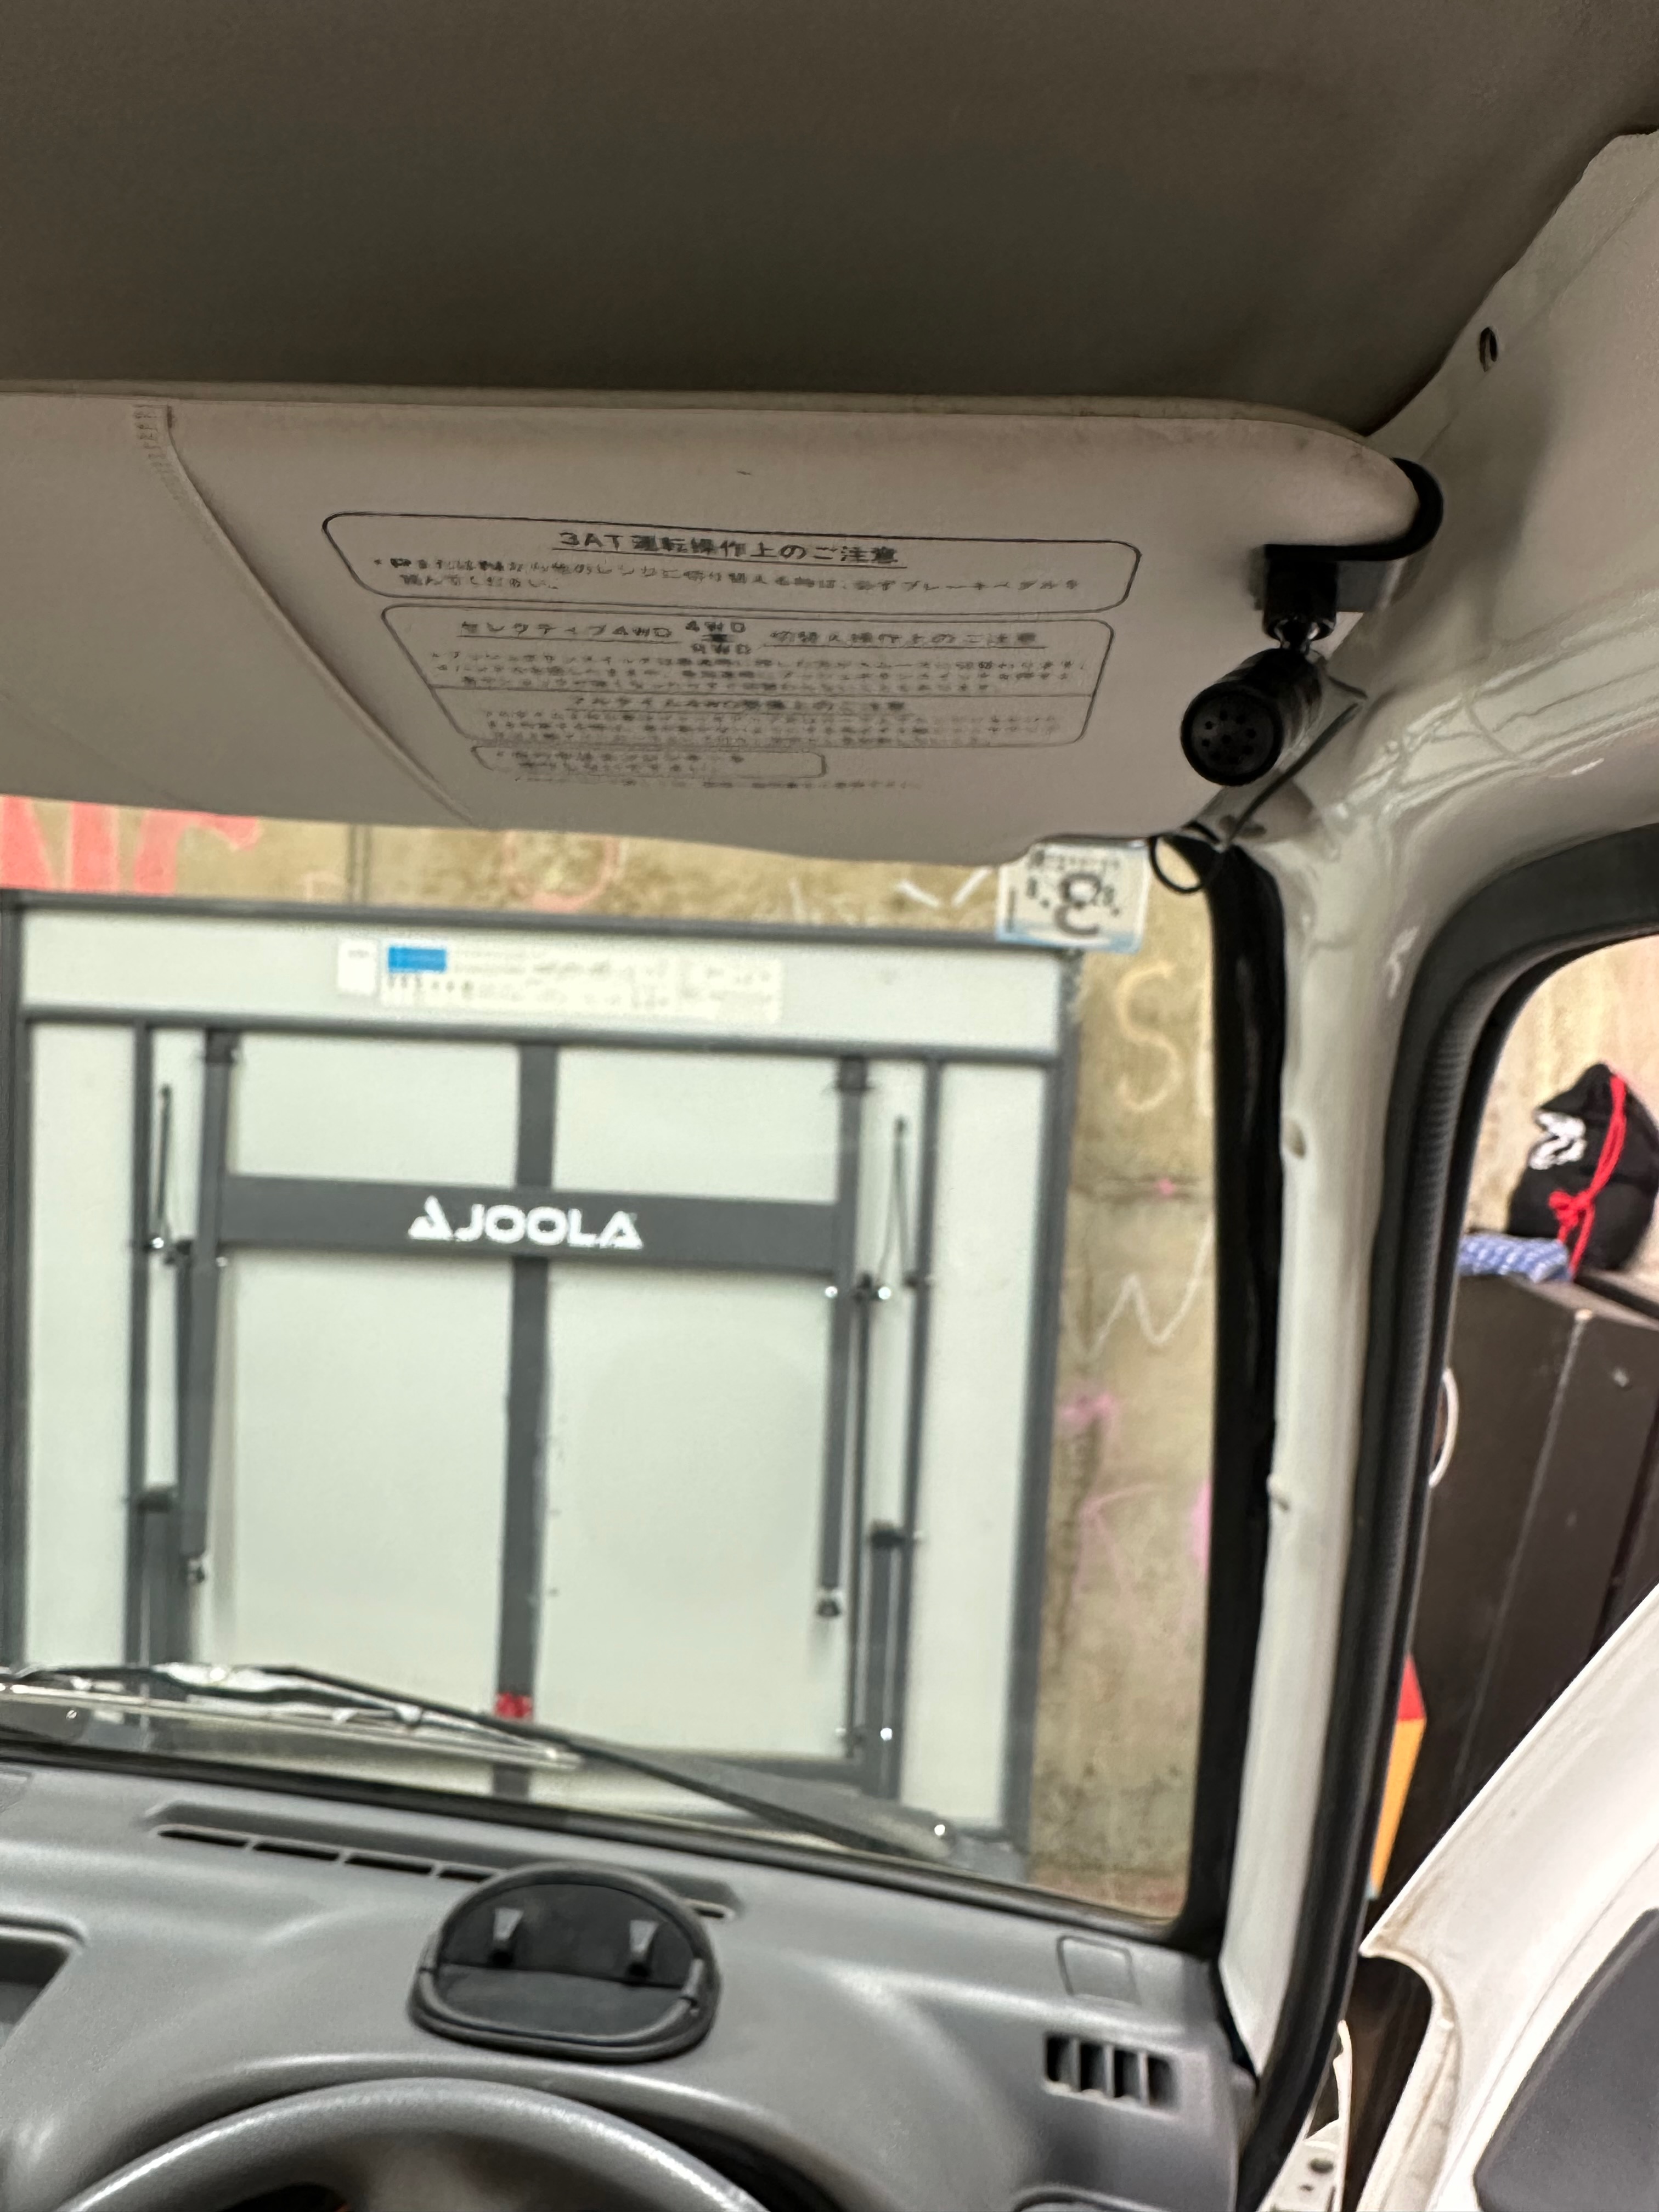
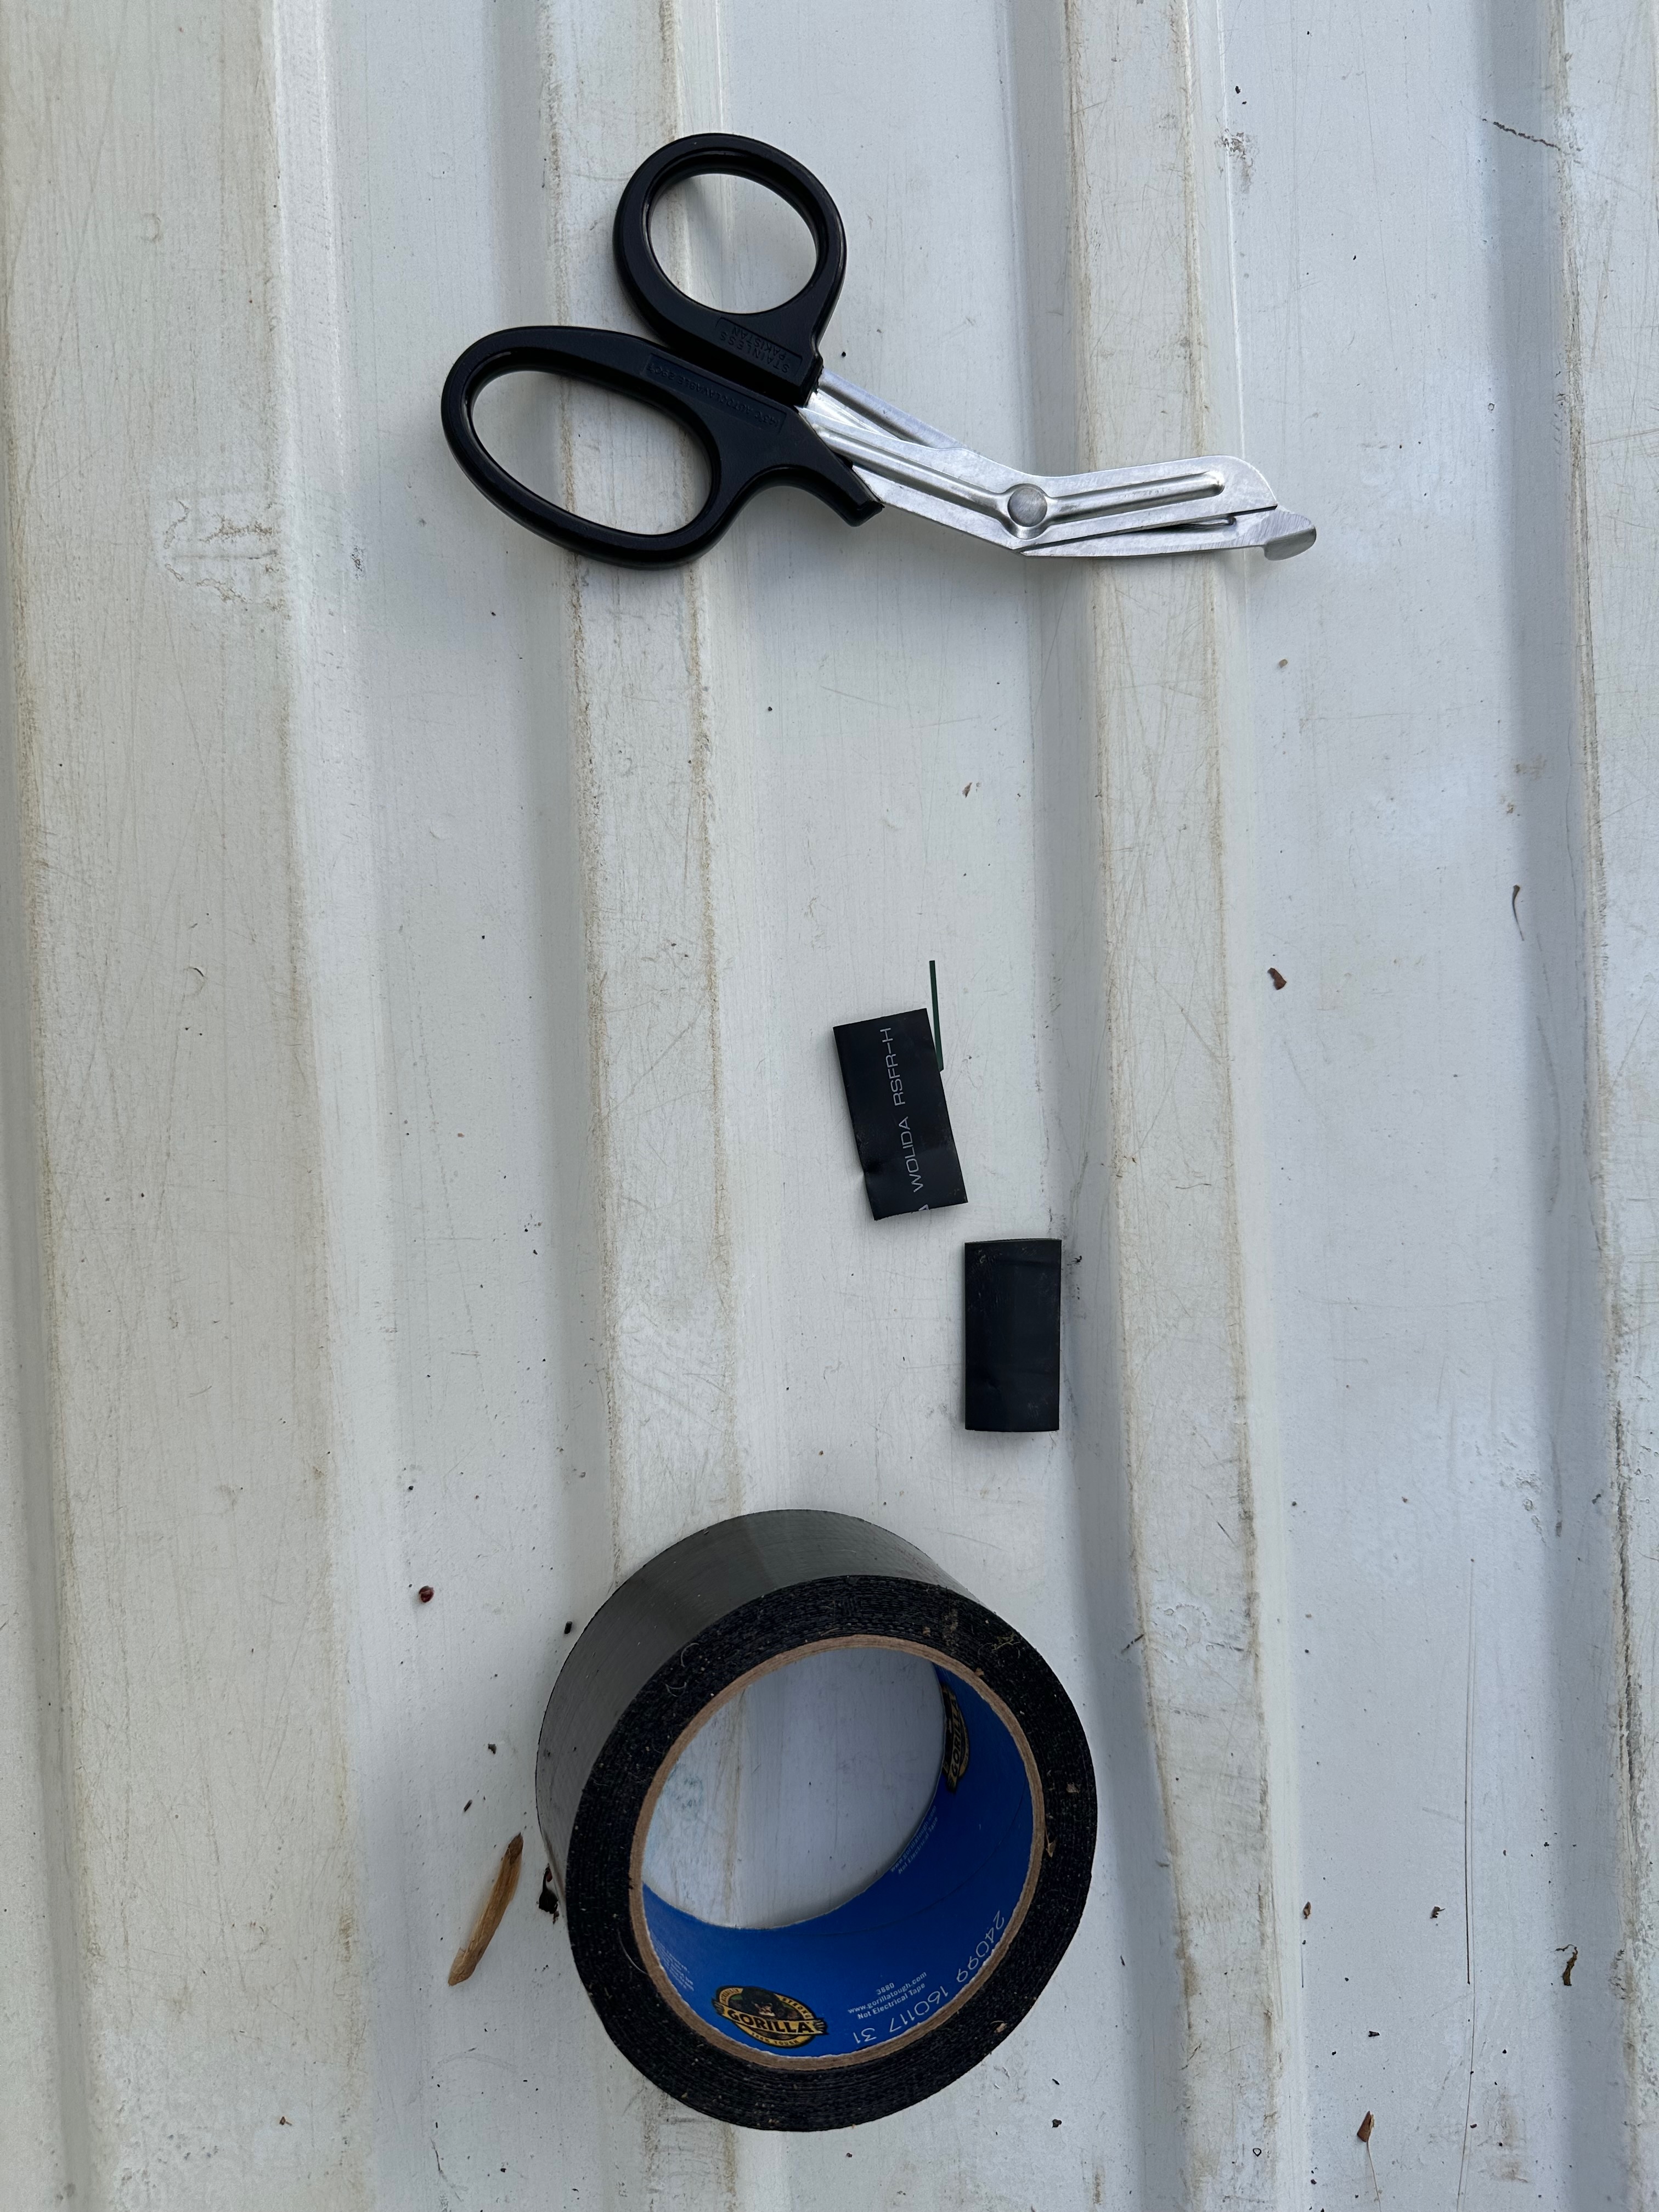
To manage and hide the wire along the windshield/column, I just found some black duct tape and cut some narrow strips and laid it down as neat as I could. It is “good enough” but a tiny bit sloppy if you look too close.

mic wiring

Speakers

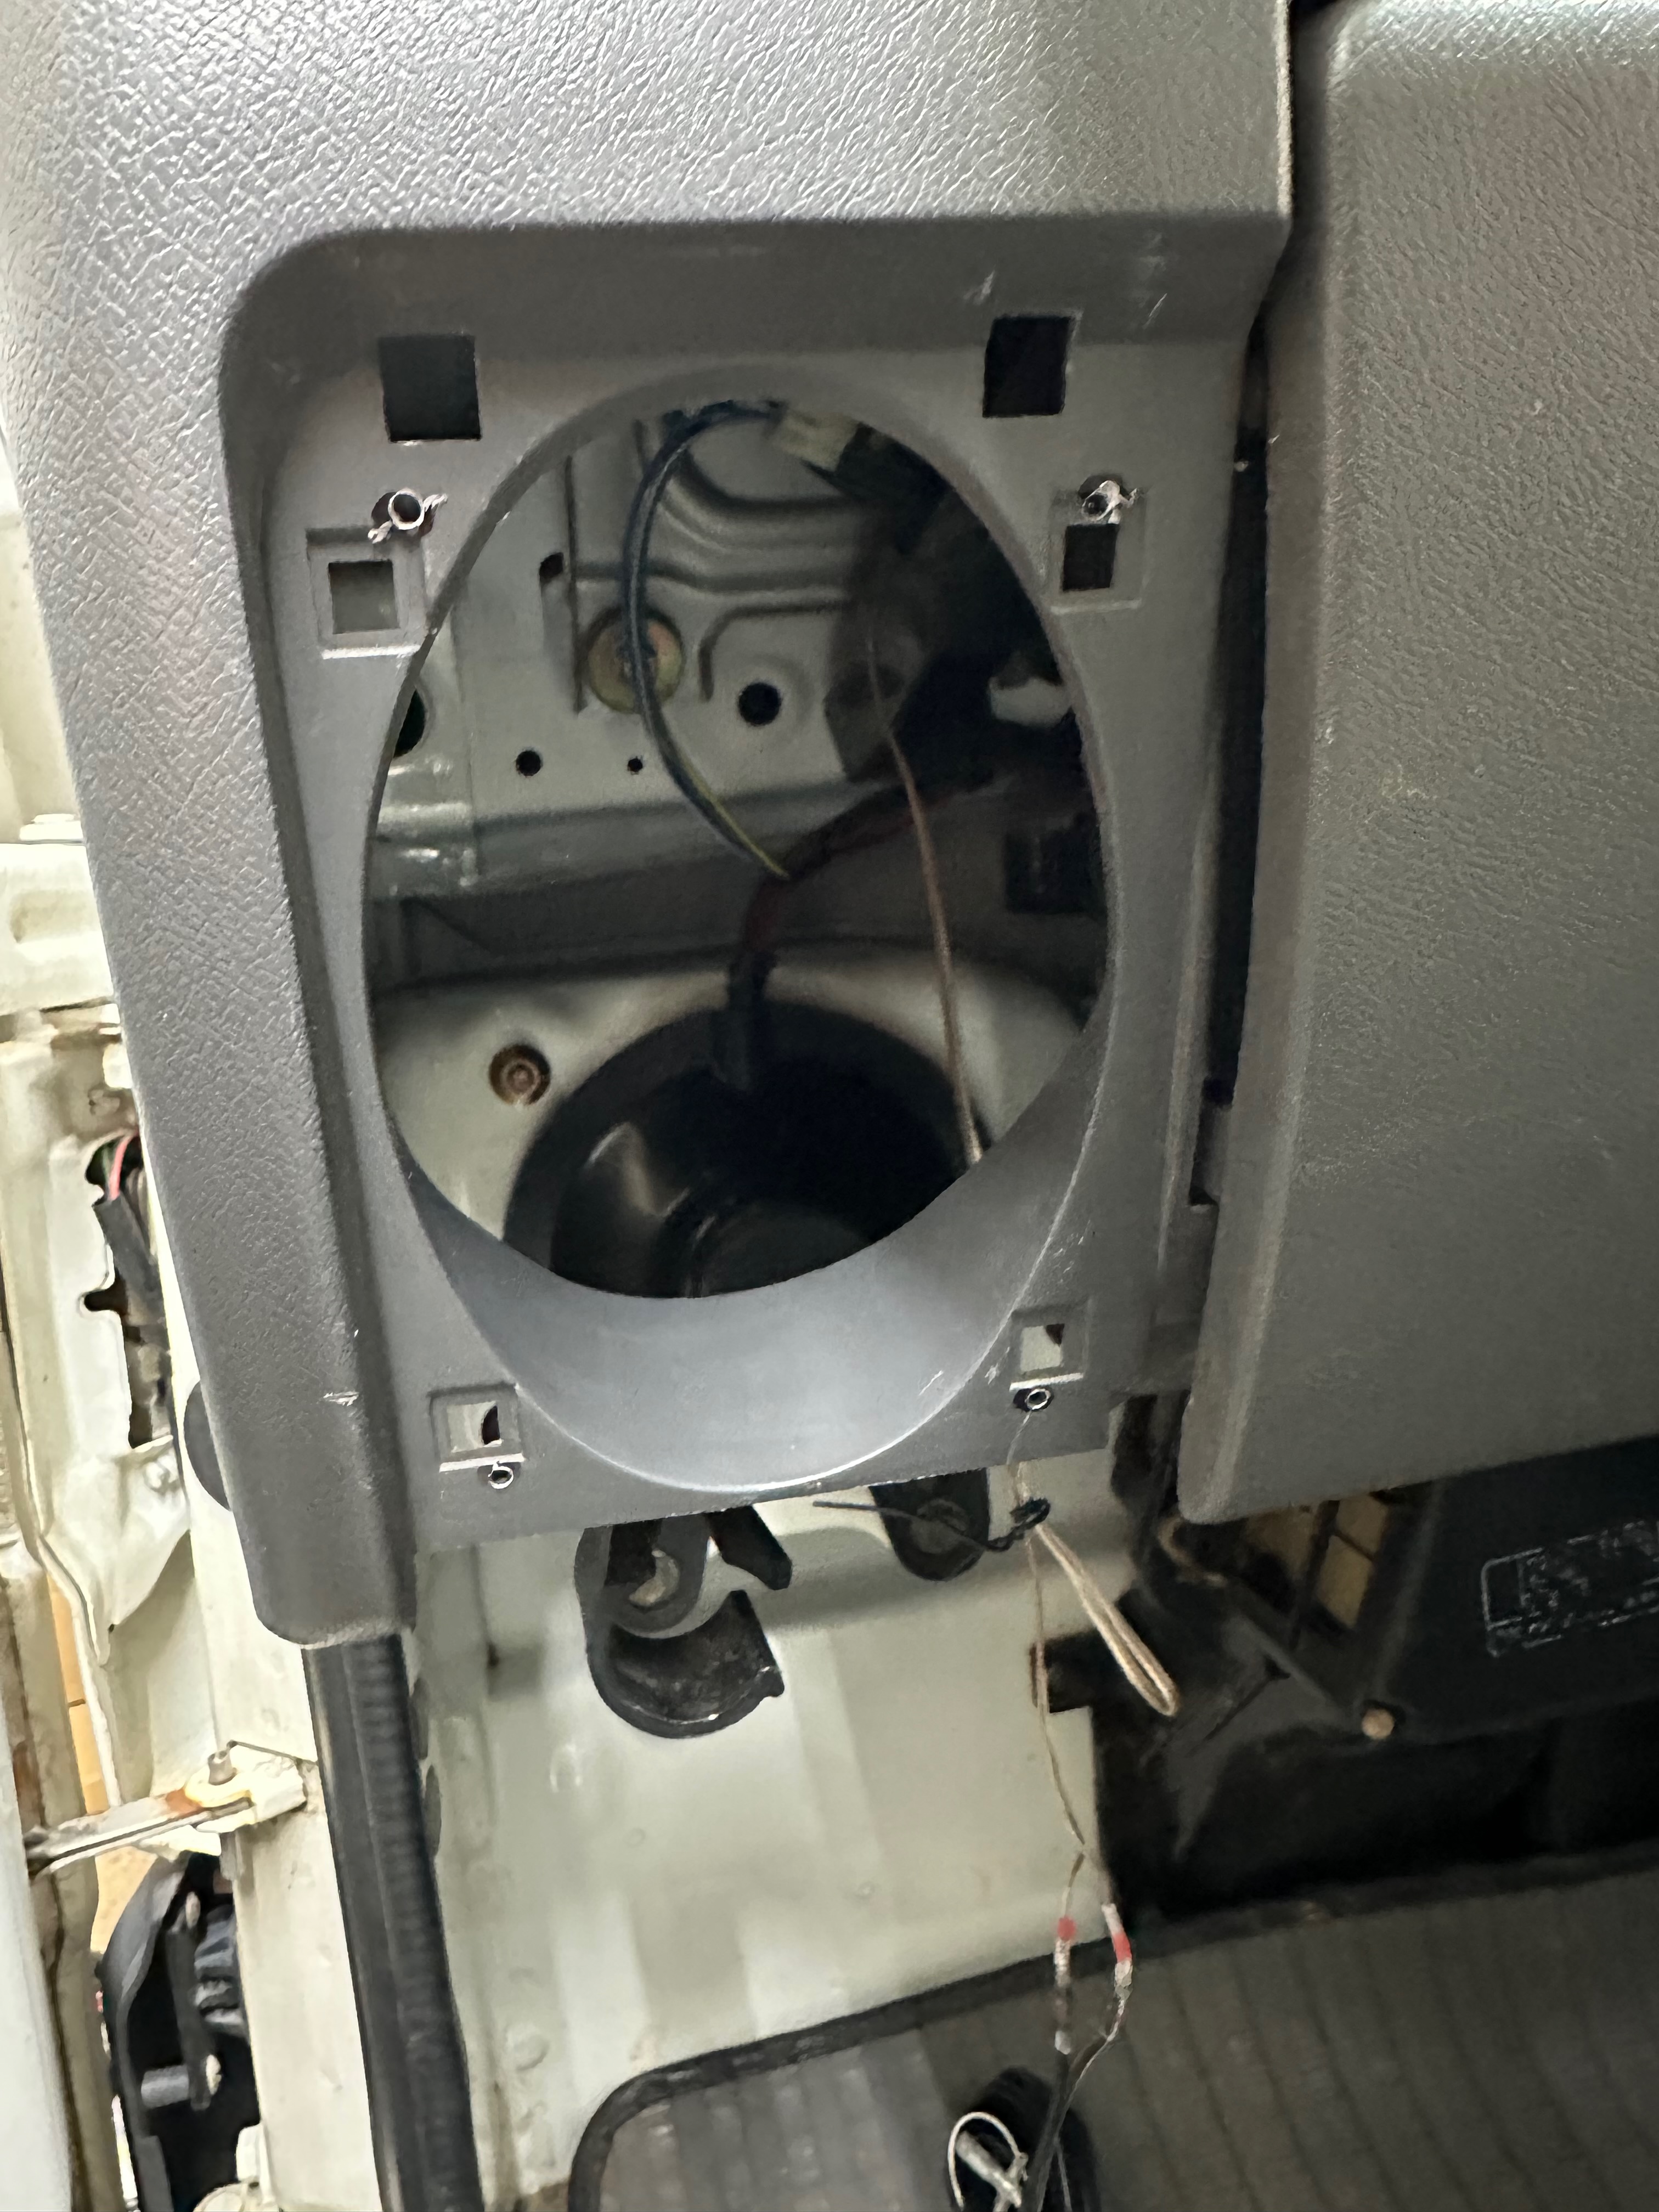
For now, my goal is simply to replace the existing 4x6 in-dash speakers. The truck came stock with just the mono AM radio and a single right-side speaker, but the empty slot and grill exist for the left speaker.

I originally ordered a set of Rockford Fosgate speakers naively thinking that any 4x6 should fit. They were too wide, and possibly too deep. So I had to do some research and a support chat w/ Crutchfield to find the lowest profile option I could, which was the RetroSound R-463N ($85.99).

The RetroSound option physically fit, but the holes still didn’t line up, so I had to drill some new ones, then find some screws from my own stock that would work. That worked and the factory grill fit over just fine.

speaker mount location

Overall Impressions

This setup seems just fine. My goal wasn’t anything approaching audiophile-grade, the truck is noisy enough as is, and it isn’t my daily driver. So I’m happy with it - pretty basic sound, very little low/mid. If I get frustrated by it over time, maybe I’ll look into a sub down the road.

The head unit seems to function fine in that it reliably pairs with my phone and has decent controls, i.e., a physical volume knob and radio preset buttons. A few of the phone controls aren’t super intuitive, but I’ll get used to it.

Wheels & Tires Upgrade

My new wheels & tires are installed! After lots of searching and learning about tire math, I settled on a more rugged look of all terrain tires, but was close to getting some more sporty white wheels and associated lower profile tires.

overview of truck with new wheels & tires

The details:

  • Wheels: Rtx Steel OE Style Wheel 13x5 4x100 Black, purchased from BB Wheels ($390.22 for five wheels)
  • Tires: Accelera M/T-01 LT 165/80R13 94/93Q D, purchased from Priority Tire ($379.65 for five tires)
  • Mounting: I took them to a local shop to get the tires mounted and balanced ($205 for the five)

The grand total cost was just under $1000 all-in.

These particular wheels were easy to fit as they were precisely the same 59.1mm center bore as stock.

Side note: this spreadsheet was helpful in understanding wheel/tire fit for Sambars.

close up of tires on the truck

Everything seems to fit just fine with room to spare. The offset and width of the wheels seemed to match the factory wheels more or less, just going from 12" up to 13". The overall tire diameter is about an inch more.

I took a few close-up photos of the before & after to do my best to capture the clearance, though I wish I had lit the photos better.

before and after comparison photos

Homecoming

It’s home! It was a chaotic process. I get a voicemail late Friday that the port escort tried to start the car. They tried to jump it, add gas, and enlist the help of the port mechanic to no avail. No answer when I tried to call back, so now instead of planning to leave Monday morning, I have to plan to call them first thing to understand how to proceed.

One step I took was to google search for a car hauling company. I found some form to fill out for a quote. As I suspected, it basically just became a bunch of text message spam from a number of middlemen booking companies. (Fortunately, I used my google voice number for the form.) The website I found was basically a middle-middle man who then sells leads to a bunch of these booking firms. None of them operate trucks - they give you a quote and then call around and try to make it happen. Not exactly a scam, but feels like a pretty shady corner of the business world.

Monday morning first thing I called the port escort. They did have a tow truck with a winch that they recommended. I call that guy, but he doesn’t go to Virginia. He referred me to his friend… who doesn’t like to answer phones or text it seems. So as this option dries up, I’m actually relieved I have all those spam text messages that I am now going back to… “Can you pick up from the port today? Does your driver have a TWIC card?” I get one that had quoted me $120 so I talk to him. He says the winch service will make it $200. (Fine.) So I sign the contract. Back to the fact that these aren’t real towing companies, he then calls back in an hour that someone can do it the next day for $350. I say no… this goes on for some time and he finally finds someone who can do it same day for $300. Good enough.

Ultimately, instead of a field trip to the port, I was on the phone all day like a dispatcher texting and calling with the tow broker companies, the port escort, and my customs broker. Half of the day I’m waiting for some news from one of them like a 1950’s expectant father in the waiting room.

The last text I get is from the driver “ETA within the hour” and I was finally able to breathe a little.

I still now have the worry of how I - not a mechanic by any stretch - will deal with a car that isn’t starting. I start watching youtube videos on sambar troubleshooting.

When the truck finally arrives, I have him put it in the driveway, where with gravity and some gentle pushing, I roll it into my garage. The driver is 20 questions about the truck and wants to know more. (Of course he does, the sambar is a charming little guy.)

Epilogue: Ignition!

Tuesday night, I decide to just give it a more earnest try to start the beast up. I pump the gas and keep the ignition going, ultimately flooring it, just as I’m convinced I’ve flooded it, it starts up! I push it out of the garage a bit to avoid fumigating myself and let it run for 15 minutes or so. Then the next day, it started up just fine, and has ever since.

Truck on top of flatbed tow truck

Cleared, Finally!

After numerous fruitless emails and a couple calls, it finally cleared customs. I thought this was going to take a few days, which turned into over two months. Apparently customs had been waiting on the Department of Transportation to approve it. I suspect that, although customs was still operating during the record-breaking government shutdown, DoT may have been furloughed.

Now I am navigating the process of scheduling a pickup in coordination with an “escort.” You need an escort because they don’t let just anyone walk into a working port. You need to be with someone who knows how things work.

In parallel, I am researching what I may need to bring to be prepared. I’m planning on renting a U-Haul trailer. The trucks are small, and this type of trailer is not a true flat bed, it is basically two planks. The width between the planks should be just enough to let the tires straddle it with an inch or so to spare on either side.

I’m also planning to bring:

  • Jumper cables
  • Tire air pump / fix-a-flat
  • Tie-down straps
  • Various tools
  • Work gloves
  • Maybe a winch (I don’t have one but am concerned if it won’t start after months of sitting idle, and I’ll need to get the truck up onto the trailer.)

Arrival

I got an email that the truck has been ’line released’. What does that mean? Still finding out. It takes so many hands to make international shipping work, which makes sense. That email was I think from the company that operates the ship. They referred me to the operator of the terminal at the port. When I contact the terminal, it turns out it has a Customs Entry Hold. I contact my broker, who informed me that “something is going on in Baltimore.”

We’ll see how long it takes. Then I get to figure out how to actually pick it up.

At Sea

My bill of lading arrived. That means I have a ship, Elegant Ace, which will carry the truck across the Pacific, through the Panama canal, an ultimately to Baltimore.

This also means I need to get the import paperwork in order. The process has been a bit confusing, with the company facilitating the sale giving me mixed recommendations - either doing paperwork myself with the help of easyISF, or using a broker. I ended up using a broker, but not sure if that was the best choice.

The Elegant Ace ship

Auction Winner!

I won an auction. It took a few attempts and false starts, but I won the auction for a 1998 Subaru Sambar KS4. Manual transmission, A/C, and apparently pretty good exteror and interior condition - and at just under 30K kilometers on the dial.

The process: I used Japan Car Direct as the facilitator/agent. After signing up, a lot of the process was via Whatsapp, where they would show potential upcoming auction vehicles that meet my general criteria, and I’d give feedback on which I was willing to potentially bid on. On auction day, they would order same-day third party inspections. I had to be pretty available at that time for feedback (usually Thursday or Friday night in East-coast US time to correspond to Friday or Saturday morning auctions in Japan). When the inspection came back good, I gave the thumbs up and a ceiling amount to bid, and they carried it out.

I won at 454K Yen. The various fees for the auction, agent suppport, and transport fees to the US got that up to about $880k Yen total, or $6217 USD.

They sent some pictures of the truck in the yard.

exterior rear photo of the sambar

interior photo of the sambar